The Short Answer: AHAM Verified purifiers have independently tested CADR ratings. Look for the AHAM seal and match CADR to your room size (CADR ÷ 1.55 = max sq ft). Higher CADR means faster air cleaning but potentially more noise.
Air purifiers are one of the best investments you can make for your indoor air quality. But here’s the uncomfortable truth: just because a purifier is plugged in, humming along, and showing a reassuring blue light doesn’t mean it’s actually cleaning your air. Filters clog, fans fail, seals degrade, and sensors drift over time. If you’ve ever wondered whether your air purifier is truly working, you’re not alone, and this guide will show you exactly how to find out.
Below you’ll find step-by-step tests ranging from free visual checks to precise instrument-based measurements, plus everything you need to know about tools, troubleshooting, and ongoing maintenance.
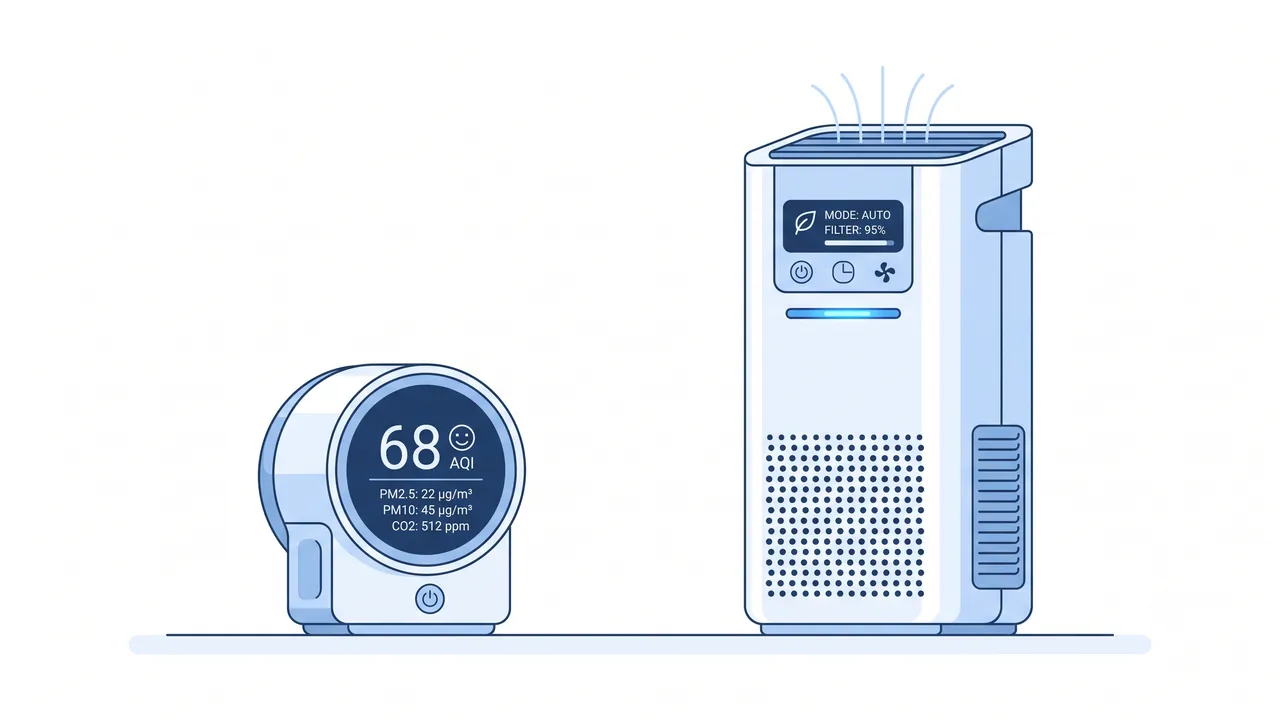
Why Testing Your Air Purifier Matters
Most air purifiers give you very little feedback. A status light might change color, or the fan speed might ramp up, but these signals can be misleading. Built-in sensors on consumer-grade purifiers are often cheap particulate sensors that drift over time, get clogged with dust, or simply fail without any error message. Meanwhile, the filter, the part that actually does the work, silently saturates until it’s no longer capturing anything.
Regular testing gives you objective confidence that the air you’re breathing is actually being cleaned. It also helps you catch problems early, before a clogged filter or failing motor leaves you breathing unfiltered air for weeks or months. If you’re relying on a purifier for allergy relief or managing chemical sensitivities, knowing it’s working isn’t optional, it’s essential.
How to Test Your Air Purifier: Step-by-Step
Testing your air purifier doesn’t require expensive equipment or technical expertise. Here’s a systematic approach you can follow, starting with the simplest tests and working up to more precise measurements.
Step 1: Verify Airflow Is Normal
The most basic question is whether the purifier is moving air at all. Even a brand-new unit can arrive with a fan defect or an incorrectly seated filter that blocks airflow.
Step 2: Check That Air Is Actually Being Filtered
Airflow alone doesn’t mean the air is clean, the fan could be running while air bypasses the filter entirely through gaps in the seal. Visual inspection of the filter confirms particles are being captured.
Step 3: Measure Particulate Reduction
Using an air quality monitor or even your own eyes, verify that the purifier is actually lowering the concentration of particles in the room, not just recirculating air.
Step 4: Stress-Test Under Real Conditions
A purifier that works in clean air but can’t recover from a spike in pollution (cooking smoke, a dust disturbance, pet dander) isn’t earning its keep. Stress testing reveals how well it performs when it matters most.
Step 5: Track Long-Term Performance
A one-time test tells you the purifier works today. Tracking symptoms and filter condition over weeks and months tells you it’s still working next season.
Tools You Need
You can test your air purifier with nothing but a tissue and a flashlight. But if you want definitive, quantitative results, a dedicated air quality monitor is the single best accessory you can pair with any purifier.
Air Quality Monitor Recommendations
| Monitor | Price Range | What It Measures | Best For | Notes |
|---|---|---|---|---|
| Temtop M10 | $50–60 | PM2.5, PM10, AQI | Budget testing | Compact, easy to read, good for basic before/after comparisons |
| Qingping Air Monitor Lite | $60–80 | PM2.5, CO₂, TVOC | All-around use | Excellent value; syncs with app for logging |
| AirGradient ONE | $90–130 | PM2.5, CO₂, TVOC, NOₓ | Enthusiasts | Open-source, highly accurate, supports data logging |
| PurpleAir PA-II | $220–250 | PM1.0, PM2.5, PM10 | Precision & outdoor comparison | Dual laser sensors for accuracy; community data network |
| IQAir AirVisual Pro | $270–300 | PM2.5, CO₂, AQI | Premium home use | Beautiful display, historical data, indoor/outdoor comparison |
Any of these will let you run the definitive PM2.5 tests described below. For a deeper dive, see our complete guide to the best air quality monitors in 2026.
Free Tools
You don’t need to spend anything to start testing:
- A single-ply tissue or toilet paper, tests airflow and fan function
- A bright flashlight, reveals airborne particles in a dark room
- Your nose, detects odor breakthrough that indicates saturated carbon filters
- A smartphone timer, for tracking response times during stress tests
Test 1: The Tissue Paper Test (Free, 10 Seconds)
This is the fastest way to confirm your purifier is moving air. It tests the fan, motor, and filter condition in one simple action.
Hold a single-ply tissue or piece of toilet paper near the air intake grille, the side where air enters the purifier. If the purifier is pulling air properly, the tissue should be sucked firmly against the grille and stay there without you holding it. Try this on each fan speed. The suction should increase noticeably with each step, low should pull the tissue gently, medium should hold it firmly, and high should press it flat against the surface.
What the results tell you:
- Tissue held firmly on high speed: The fan and motor are working well, and the filter isn’t severely clogged
- Tissue flutters but doesn’t stick: Airflow is weak, the pre-filter is likely clogged with dust and hair, or the main filter is overdue for replacement
- Tissue barely moves: Either the filter is completely blocked, the fan motor has failed, or something is physically obstructing the intake
- Suction is strong on all speeds but weaker on one: Could indicate a fan speed control issue or partial motor failure at that speed setting
If the tissue test fails, remove and inspect the filter (see Test 3 below). Clean or replace the pre-filter and retest. If suction is still weak with a new filter, the motor may need professional service.
Test 2: The Flashlight Test (Free, 30 Seconds)
This test uses your own eyes as a particle detector. It’s surprisingly effective for confirming that your purifier is reducing airborne dust.
In a dark room, shine a bright flashlight beam horizontally across the room at about chest height, perpendicular to your line of sight. The beam will illuminate airborne dust particles as tiny reflective specks drifting through the air. Note roughly how many you see and how thick the “snow” appears in the beam.
Now turn the purifier on high speed and close the door and windows. Wait 15–20 minutes, then repeat the flashlight test from the same position.
In a properly sized purifier working correctly, the number of visible floating particles should be reduced by roughly half or more. Your eyes are surprisingly sensitive to relative changes in particulate density, even if you can’t count individual particles, you’ll notice the beam looks clearer and less “snowy.”
Pro tips:
- Do this test when the room has been closed for at least an hour before the first measurement
- Avoid rooms with carpet being vacuumed or other active dust sources during the test
- If you see no change after 30 minutes on high, the purifier is either undersized for the room or the filter is exhausted
Test 3: The Filter Inspection (Free, 2 Minutes)
Opening your purifier and inspecting the filters tells you more about long-term performance than almost any other test. The filter is the working element, everything else is just moving air past it.
Pre-Filter Inspection
The pre-filter (usually a washable mesh or foam screen) catches large particles like hair, lint, and pet fur before they reach the main HEPA filter. After 2–4 weeks of normal use, you should see visible debris: hair, dust bunnies, fibers, and pet dander clinging to the mesh.
If the pre-filter looks brand new after a month of daily use, something is wrong. Either your air is miraculously clean (unlikely in any occupied home), or the purifier isn’t pulling enough air through the intake. Check for obstructions and verify airflow with the tissue test.
HEPA Filter Inspection
Pull out the main HEPA filter and look at the intake side, the side that faces the incoming air. After 3+ months of continuous use, you should see progressive discoloration: gray, tan, or yellowish staining from captured dust, pollen, and particulates. This discoloration is evidence the filter is doing its job.
A pure white HEPA filter after months of daily use is a red flag. It suggests that air is bypassing the filter through gaps in the seal, the purifier has very low airflow, or the filter was never properly installed. Check that the filter is seated correctly and that no foam gaskets are missing or compressed.
Carbon Filter Inspection
If your purifier has an activated carbon filter (for odors and gases), it won’t show visible discoloration the same way. Instead, test it with your nose. If you notice cooking odors, pet smells, or chemical odors lingering longer than they did when the filter was new, the carbon is likely saturated and needs replacement. Most carbon filters last 3–6 months under normal conditions.
Understanding filter types and lifespans is important for maintenance. Our guide to MERV ratings and HVAC filters explains the rating systems, and our article on third-party replacement filters can help you save money on replacements.
Test 4: The Air Quality Monitor Test ($50–90, Most Reliable)
This is the gold standard. A dedicated PM2.5 air quality monitor gives you objective, numerical data that removes all guesswork. If you own a purifier and care about air quality, a monitor is the single most useful accessory you can buy.
How to Run the Test
- Set up the monitor at least 6–10 feet from the purifier, at breathing height (table or shelf level). Do not place it directly next to the purifier’s output, you want to measure room air, not the purifier’s exhaust.
- Record the baseline with the purifier off and all windows and doors closed. Wait 10 minutes for the reading to stabilize. Note the PM2.5 value in µg/m³.
- Turn on the purifier at your normal setting (auto, medium, or whatever you typically use). Close the room.
- Check at 15-minute intervals. A properly sized, working purifier should show measurable PM2.5 reduction within 15–20 minutes and significant reduction (50%+ of baseline) within 30–45 minutes.
- Run the match smoke stress test. Light a wooden match, blow it out 3 feet from the purifier, and let the smoke disperse into the room. Watch the monitor: the PM2.5 reading should spike within 10–15 seconds, then decline steadily as the purifier processes the smoke. A properly sized purifier should return the room to baseline PM2.5 within 20–40 minutes for a single match’s worth of smoke in a closed room.
Interpreting the Results
- PM2.5 drops steadily and reaches baseline in under an hour: Your purifier is working correctly
- PM2.5 drops but very slowly (2+ hours to return to baseline): The purifier is undersized for the room, the filter is nearing end of life, or there’s excessive air leakage in the room
- PM2.5 doesn’t change at all: The filter is exhausted, bypassed, or the fan isn’t functioning. Replace the filter and retest
- PM2.5 drops, then plateaus above baseline: Could indicate a continuous source of pollution (cooking, smoking, open window) or a partially clogged filter
For more on understanding these numbers, see our guide on how to read the air quality index (AQI).
Test 5: The Allergy Symptom Test (Subjective but Meaningful)
If you suffer from allergies, your body is a surprisingly sensitive particle detector. Tracking your symptoms over time provides real-world evidence of whether your purifier is working.
How to Run This Test
- Week 1 (Purifier ON): Run your purifier normally in your bedroom or main living space. Each morning and evening, rate your symptoms on a 1–10 scale: sneezing frequency, itchy/watery eyes, nasal congestion, and throat irritation.
- Week 2 (Purifier OFF): Turn off the purifier for the full week (or move it to another room). Continue rating your symptoms at the same times.
- Compare the two weeks. A meaningful difference, particularly in morning symptoms, since you’ve spent 7–8 hours sleeping in the filtered (or unfiltered) room, is strong evidence the purifier is contributing to cleaner air.
Important caveats: This test works best during consistent allergy season when outdoor pollen levels are high and stable. Weather changes, medication adjustments, or spending time in different locations can all confound results. For the most reliable results, keep all other variables as constant as possible.
If you’re using a purifier specifically for allergies, our seasonal allergy guide covers the best filter types, room placement strategies, and when to run your purifier at maximum speed.
Visual Tests Without Equipment
Beyond the tissue and flashlight tests above, there are several other ways to check your purifier’s health without buying any tools:
The Smoke Stick Test
Light an incense stick or a thin birthday candle and blow it out. Hold the smoldering end about 2 feet from the purifier’s intake. The smoke should visibly bend toward the intake grille as the purifier pulls it in. If the smoke rises straight up without being deflected, airflow is too weak.
The Paper Strip Test
Tape a thin strip of tissue paper (about 1 inch wide and 6 inches long) to the front of the purifier’s output vent. On medium or high speed, the strip should stream outward steadily. If it flutters weakly or hangs limp, the output airflow is compromised.
The Breath Fog Test (Winter Only)
In cold weather, exhale sharply near the purifier. Your visible breath (water vapor plus particles) should be visibly pulled toward the intake. This is an informal test, but it gives you an immediate visual sense of how strongly the purifier draws air.
The Dust Accumulation Test
Place a small piece of black construction paper on a shelf near the purifier. Check it weekly. If your purifier is working effectively, dust should accumulate more slowly on surfaces in the room compared to an unfiltered room. This is a slow test, it takes weeks to show results, but it reflects real-world performance.
Common Signs of a Failing Purifier
Sometimes your purifier will give you warning signs before a complete failure. Watch for these red flags:
The filter looks clean after 3+ months of daily use. A working HEPA filter should show visible discoloration from captured particles. A pristine filter suggests air is bypassing it entirely, the airflow is too low to capture particles, or the filter was never properly seated.
The built-in air quality indicator is always blue or green. While this could mean your air really is clean, it’s more often a sign that the sensor has drifted, become clogged with dust, or failed entirely. Built-in sensors on most consumer purifiers are not lab-grade instruments. Verify with a standalone monitor using the test described in Test 4.
You smell odors that the purifier used to eliminate. Activated carbon filters have a finite adsorption capacity. When they’re saturated, odors from cooking, pets, or chemicals will pass through. If you previously noticed that the purifier neutralized kitchen smells but now those smells linger, the carbon filter needs replacement.
The fan sounds different than when it was new. Grinding, rattling, clicking, or a change in pitch can indicate motor bearing wear, debris caught in the fan blades, or a loose internal component. These sounds usually worsen over time and often precede motor failure.
The unit vibrates more than it used to. Place your hand on the purifier while it’s running. Excessive vibration can indicate an unbalanced fan blade, a worn motor mount, or internal components that have come loose. Not only does this reduce efficiency, but it can also increase noise levels significantly, a concern if your purifier is in a bedroom or nursery.
Energy consumption has increased noticeably. While the annual running cost of most purifiers ($7–80/year) makes small changes hard to detect on your electricity bill, a sudden spike of $20+/month on the same appliances could indicate the motor is working much harder against a severely clogged filter.
The purifier runs at high speed constantly but never seems to “settle.” If your unit has an auto mode and it perpetually stays on high even in a room that should be clean, either the sensor is malfunctioning or there’s a persistent pollution source the purifier can’t overcome. Check our guide on purifier myths and common mistakes to rule out user error.
How Often to Test
A one-time test confirms your purifier works today. Regular testing catches problems before they leave you breathing dirty air for weeks.
Recommended Testing Schedule
| Test | Frequency | Why |
|---|---|---|
| Tissue paper test | Monthly | Quick sanity check on airflow and fan function |
| Filter visual inspection | Every 2–3 months | Confirms filters are capturing particles and alerts you to replacement needs |
| Flashlight particle test | Every 3–6 months | Verifies the purifier is still reducing room-level particulates |
| PM2.5 monitor test | Every 6–12 months | Quantitative baseline to compare against earlier readings and detect filter degradation |
| Full stress test (match smoke) | Once a year or after filter replacement | Confirms the purifier can handle real pollution spikes with the current filter |
| Symptom tracking | During each allergy season | Real-world performance validation for allergy sufferers |
When to Test Immediately
Run a full suite of tests right away if you notice any of these:
- You’ve just installed a new filter (verify it’s seated correctly and the purifier performs as expected)
- The purifier has been sitting unused for weeks or months
- You’ve moved the purifier to a new room or a different position in the room
- You notice a sudden increase in dust, odors, or allergy symptoms
- The purifier has been making unusual sounds or vibrations
Proper purifier placement also affects performance significantly, testing after a move helps confirm the new position works well.
Frequently Asked Questions
Can I use my phone as an air quality monitor to test my purifier?
Some apps claim to measure air quality using your phone’s built-in sensors, but most smartphones don’t have dedicated particulate sensors. Apps that use the camera or microphone to estimate air quality are unreliable. For accurate testing, invest in a dedicated PM2.5 monitor, even budget options like the Temtop M10 ($50–60) are vastly more accurate than any phone app.
How long should I wait before checking results after turning on my purifier?
For a properly sized unit in a closed room, you should see measurable PM2.5 reduction within 15–20 minutes and significant improvement within 30–45 minutes. If you’re doing the flashlight test, wait at least 20 minutes. For the symptom tracking test, give it a full week with the purifier running consistently to draw meaningful conclusions.
My purifier’s built-in sensor says the air is clean, but I still have allergy symptoms. Is the sensor wrong?
Possibly. Built-in sensors on consumer purifiers are inexpensive and can drift or fail over time. They also typically measure only PM2.5 and may not detect allergens like pollen, mold spores, or pet dander proteins that cause symptoms even at low particle counts. Verify with a standalone air quality monitor. Also consider whether your symptoms might be caused by factors the purifier can’t address, such as VOCs or formaldehyde off-gassing from furniture or building materials.
Does room size affect whether my purifier is actually cleaning the air?
Absolutely. This is one of the most common reasons a purifier “doesn’t seem to work.” Every purifier has a rated Clean Air Delivery Rate (CADR) that specifies the maximum room size it can effectively clean. If your purifier is rated for 200 sq ft and you’re using it in a 400 sq ft living room, it will struggle to reduce particulate levels meaningfully. Check the CADR rating on your unit and compare it to your room size. Our CADR calculator tool can help you determine if your purifier is properly matched to your space.
How often should I replace the filter if I want the purifier to keep working?
Most HEPA filters should be replaced every 6–12 months with normal use, and carbon pre-filters every 3–6 months. However, actual lifespan depends heavily on your air quality, homes with pets, smokers, construction dust, or high outdoor pollution will burn through filters faster. The filter inspection test (Test 3) is the most reliable way to know when replacement is due. Don’t rely solely on the purifier’s filter replacement indicator light, many of these are simple timers that don’t account for actual filter condition. For more on extending filter life, see our warranty and longevity guide.
Final Thoughts
An air purifier that isn’t working is worse than no purifier at all, because you think you’re protected when you’re not. Regular testing takes minutes and gives you the confidence that the air in your home is actually being cleaned.
Start with the free tests today: grab a tissue, turn off the lights, and look at your filter. If everything checks out, great, schedule your next check. If something seems off, a $50 air quality monitor will tell you exactly what’s happening and whether it’s time for a new filter, a new purifier, or a service call.
Your lungs can’t see the air. But you can test it.
Disclosure: This article contains affiliate links. If you purchase through our links, we may earn a commission at no additional cost to you. We only recommend products we’ve tested or thoroughly researched. See our full affiliate disclosure for details.
Related Articles
Air Purifier for COVID: What the Research Actually Says
Do HEPA air purifiers really protect against COVID? We review EPA guidance, 2025 research studies, and what actually works for virus protection.
Air Purifier WiFi: Is It Worth Paying Extra for Smart Features?
Is WiFi on an air purifier worth $50-100 more? We compare smart vs non-smart models from Levoit, Coway, Winix, and Dyson to help you decide.
New Nursery Furniture Smells? What You Need to Know About VOCs
New nursery furniture off-gasses VOCs and formaldehyde. What the research says about protecting your baby, and what actually helps.
Best Air Purifier for Weed Smoke From Neighbors (2026)
Neighbor's weed smoke seeping into your apartment? We tested air purifiers with heavy carbon filters to find which ones actually eliminate marijuana odor and particles.
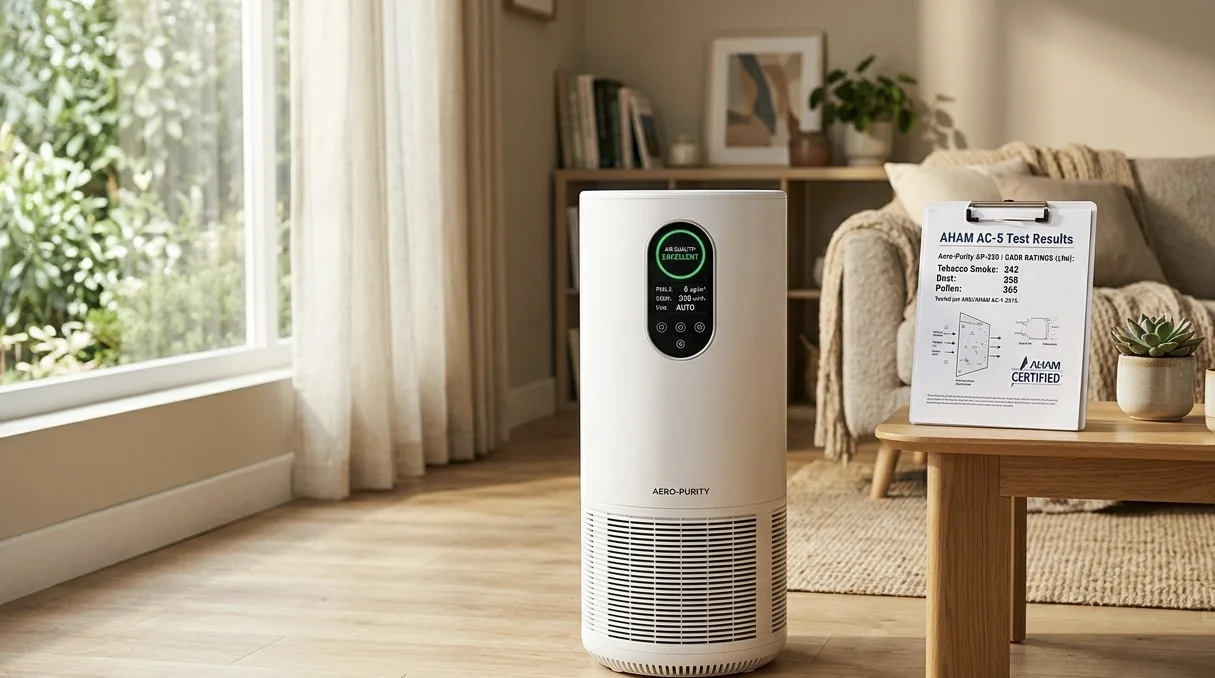
AHAM AC-5 Air Purifier Test: What It Means and Why It Matters
What is the AHAM AC-5 test for air purifiers? We explain how AHAM Verifide testing works, what CADR ratings mean, and why it matters when choosing an air purifier.
🛒 Products Mentioned
As an Amazon Associate, we earn from qualifying purchases.
Runs side-by-side purifier comparisons, long-term ownership reports, and filter cost analysis.
View all articles by David →